












Overview
OpenSSH එකෙන් remote machines වලට securely connect වෙලා encrypted channel එකක් හරහා commands run කරන්න පුළුවන්. Windows එකේ OpenSSH optional feature එකක් විදිහට තියෙනවා — connect වෙන්න client එකයි, incoming connections accept කරන්න server එකයි. මේ guide එකෙන් ඒ දෙකම install කරලා පාවිච්චි කරන ආකාරය පෙන්නනවා.
Windows එකේ OpenSSH client සහ server optional features විදිහට තියෙනවා.
Key Takeaways
- OpenSSH Client එක Windows එකේ built-in — optional feature එක enable කරන්න විතරයි.
- Connect වෙන්න මේ command එක: ssh user@host
- PC එකට incoming SSH connections accept කරන්න OpenSSH Server install කරන්න.
- Settings එකෙන් හෝ PowerShell එකෙන් ඒ දෙකම enable කරන්න පුළුවන්.
ඕන දේවල්
- Windows 10 (1809+) හෝ Windows 11.
- Features install කරන්න administrator rights.
- Server එකට, TCP port 22 allow කරන firewall rule එකක්.
Method 1 — Settings එකෙන් Install කරන්න
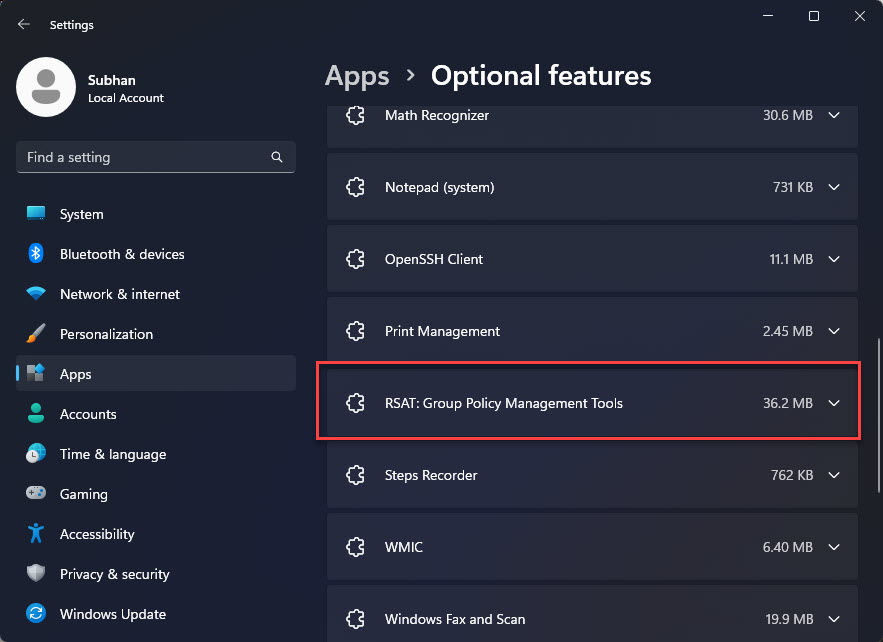
1. Settings > System > Optional features open කරන්න.
2. "Add an optional feature" > View features click කරන්න.
3. OpenSSH search කරලා, OpenSSH Client tick කරන්න (incoming connections ඕන නම් OpenSSH Server ත්).
4. Next > Install click කරන්න.
Method 2 — PowerShell එකෙන් Install කරන්න
1. PowerShell එක administrator විදිහට open කරන්න.
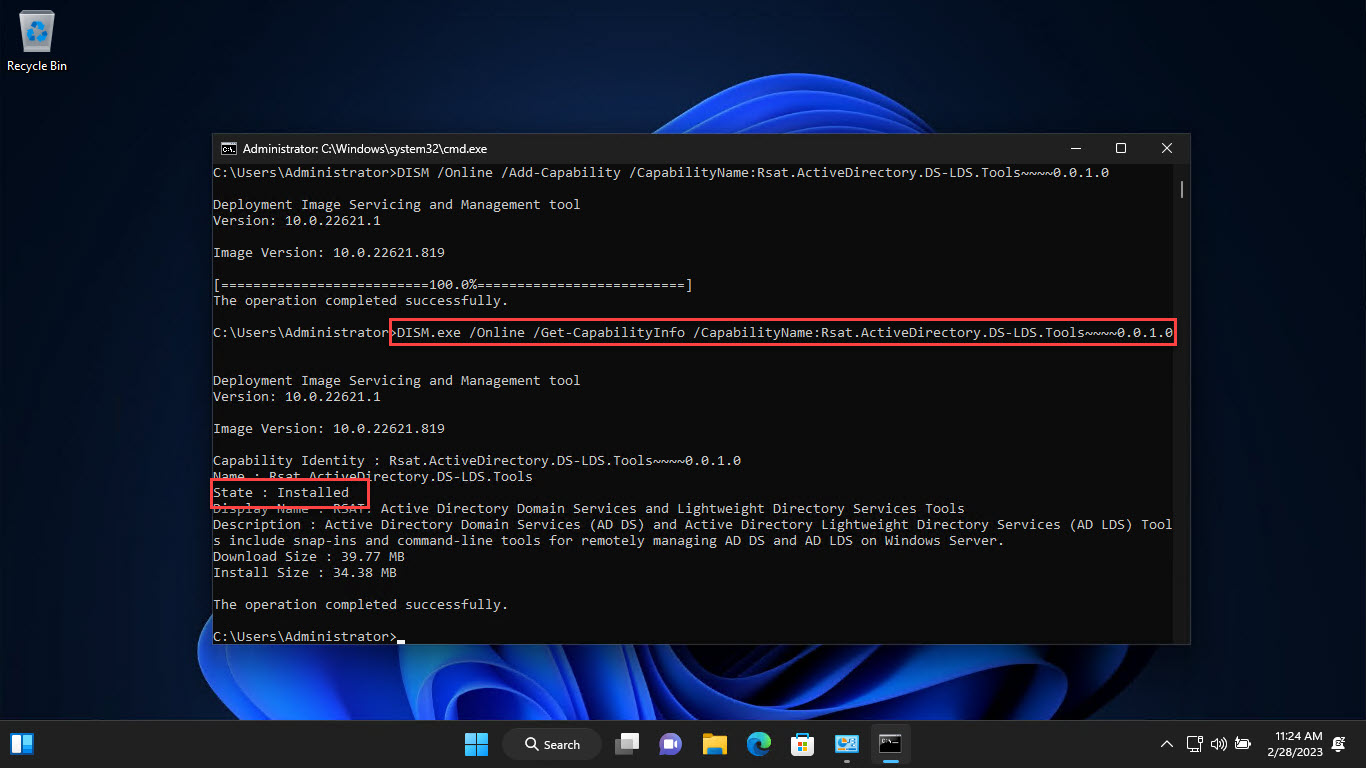
2. Client install කරන්න: Add-WindowsCapability -Online -Name OpenSSH.Client~~~~0.0.1.0
3. Server install කරන්න: Add-WindowsCapability -Online -Name OpenSSH.Server~~~~0.0.1.0
4. Confirm කරන්න: Get-WindowsCapability -Online -Name OpenSSH*
OpenSSH Client පාවිච්චිය
1. Command Prompt, PowerShell, හෝ Windows Terminal open කරන්න.
2. Remote machine එකකට connect වෙන්න: ssh username@hostname (හෝ IP address).
3. පළවෙනි වතාවේ host key එක accept කරලා, password එක type කරන්න හෝ key එකක් පාවිච්චි කරන්න.
4. ඒ machine එක ළඟ ඉන්නවා වගේම remote machine එකේ commands run කරන්න.
OpenSSH Server එක Configure කරන්න
1. PowerShell එක administrator විදිහට open කරන්න.
2. Service එක start කරන්න: Start-Service sshd
3. Automatically start වෙන්න set කරන්න: Set-Service -Name sshd -StartupType Automatic
4. Firewall එකෙන් allow කරන්න: New-NetFirewallRule -Name sshd -DisplayName "OpenSSH Server" -Enabled True -Direction Inbound -Protocol TCP -Action Allow -LocalPort 22
5. දැන් වෙන machines වලට ssh එකෙන් මේ PC එකට connect වෙන්න පුළුවන්.
Tip: Passwordless login එකට ssh-keygen එකෙන් key එකක් හදලා, ඔබේ public key එක server එකේ authorized_keys file එකට copy කරන්න.
Troubleshooting
Problem: "ssh is not recognized".
Solution: OpenSSH Client feature එක install කරලා, PATH එක refresh වෙන්න අලුත් terminal එකක් open කරන්න.
Problem: Windows SSH server එකකට connect වෙන්න බෑ.
Solution: sshd service එක running ද, firewall එක port 22 allow කරනවද, username/IP හරිද කියලා බලන්න.
Problem: Login කරනකොට Permission denied.
Solution: username/password බලන්න; key auth වලට ඔබේ public key එක server එකේ authorized_keys එකේ correct permissions එක්ක තියෙනවද බලන්න.
Problem: Add-WindowsCapability fail වෙනවා.
Solution: PowerShell එක administrator විදිහට run කරලා, feature එක download වෙන්න online ඉන්න.
Conclusion
OpenSSH එකෙන් Windows එක capable SSH client එකක් සහ server එකක් කරනවා. ssh user@host එකෙන් connect වෙන්න client එක enable කරන්න, incoming sessions accept කරන්න server එක add කරන්න, secure passwordless logins වලට key-based auth පාවිච්චි කරන්න.
About SoftwareKey.lk
මේ guide එක SoftwareKey.lk Knowledge Base එකේ කොටසක්. තව step-by-step IT guides සහ support වලට softwarekey.lk එකට යන්න.